
A distribution list (or mailing list) lets you send an email to multiple recipients using a single address. This guide shows you how to create one.
Step 1: Access the configuration#
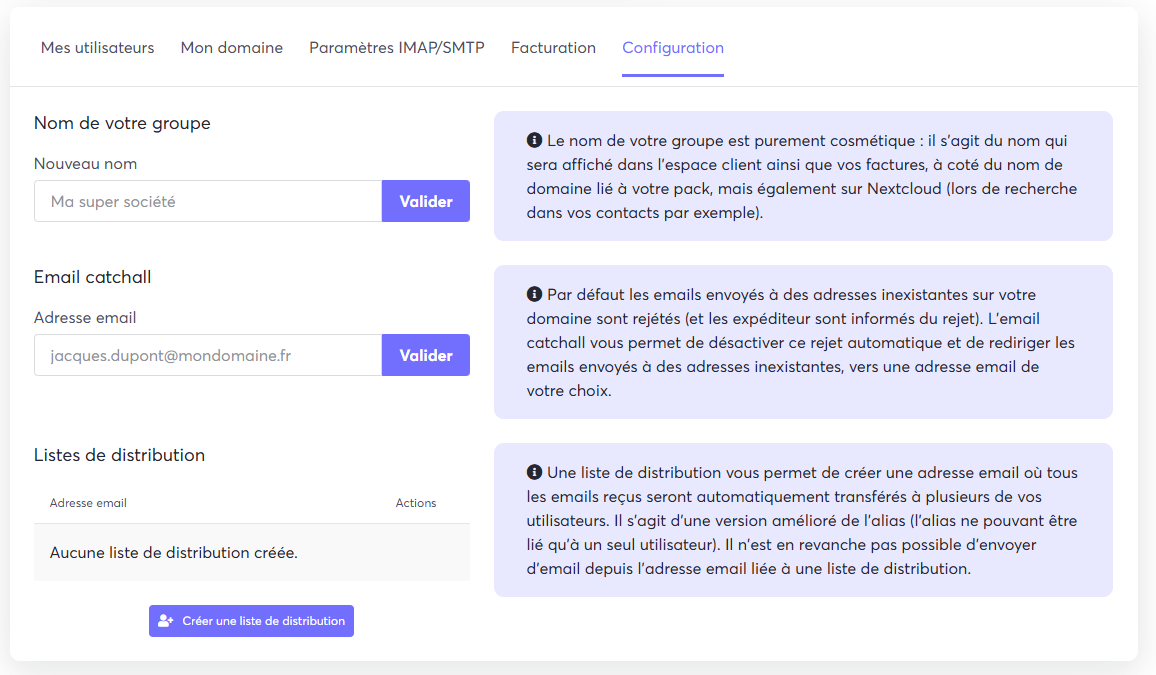
To get started, go to the Configuration tab of your Collaborative Suite. Locate the Distribution lists section.
Step 2: Create the list#
- Click the Create a distribution list button.
- A window opens. Enter the email address you want to use for this new list (for example,
[email protected]).
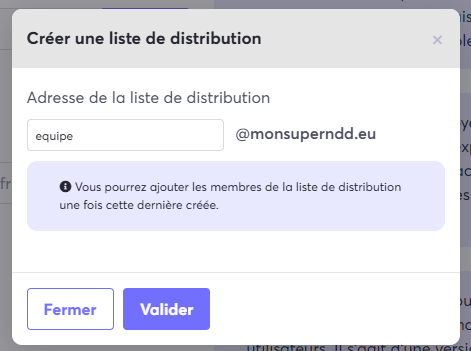
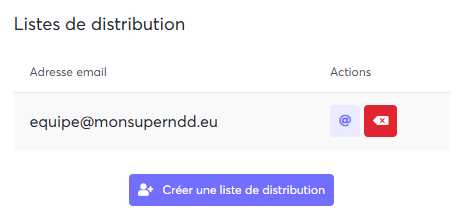
- Click Validate. The list is now created and appears in the management table.
Step 3: Add members#
- To add members to your new list, click the corresponding @ icon.
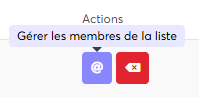
- In the window that appears, enter the email address of the member you want to add, then click the add button.
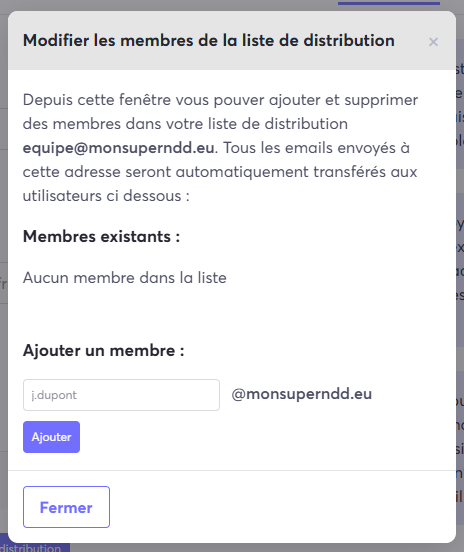
- The member is then added to the list and appears in the lower part of the window. Repeat the process for all the members you want to include.
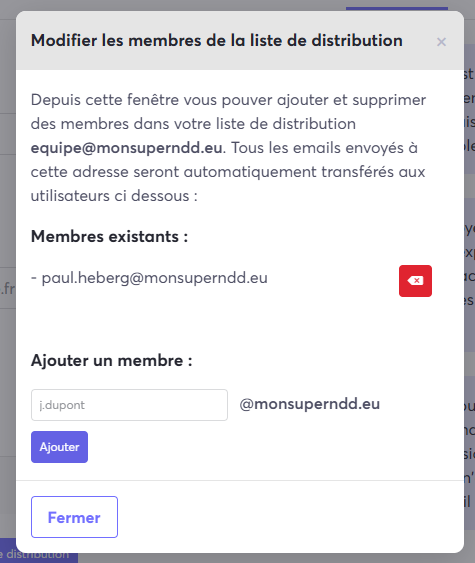
Your distribution list is now set up and ready to use.